Step by Step Guide to Making Mason Jar Cakes
Mason jar cakes are small cakes. They bake inside glass jars. The process is controlled, step by step. This article shows only how to make mason jar cakes. It talks about ingredients, mixing batter, preparing jars, baking, cooling and last steps. The focus is on the method and order of cooking.
Choosing the right ingredients and mixing the batter
The first step in making mason jar cakes is to pick out the basic cake ingredients. The recipe calls for regular cake ingredients, but it’s important to get the right amount of each because the batter bakes in glass containers. To control the rise and texture, the ingredients must be measured correctly.
First, the dry ingredients are mixed together. Mixing flour with sugar and a leavening agent makes an even base. Wet ingredients are mixed together in a different bowl. Beaten eggs are mixed with melted butter or oil and milk. Slowly mix the wet and dry mixtures together.
The batter should be smooth and not have any dry spots. Mix the ingredients together until they are just mixed. Overmixing makes the texture dense, which is easy to see when baking in a jar. The batter should be thick enough to hold its shape but still pour easily.
Some of the basic ingredients for mason jar cake batter are:
- Wheat flour for structure
- Sugar for sweetness and moisture
- Eggs to hold things together
- Oil or butter to make it soft
- Milk for balance in liquids
- For rise, use baking powder or soda.
After mixing, the batter is left to sit for a short time. This gives the air bubbles time to settle before you fill the jars.
Getting Mason Jars Ready for Baking
Before adding batter, you need to be very careful with glass jars. We only use jars that are safe to heat and don’t have any cracks or chips. To keep moisture from getting in, each jar is washed and dried all the way through.
There is a thin layer of oil or butter on the inside of each jar. This step keeps things from sticking and makes it easier to clean up after baking. A light dusting of flour is one of the things you need to do to get ready. This adds another layer of protection between the glass and the batter.
The size of the jars should be the same for all of them. Using jars of the same size makes sure that the baking time is the same. While the cakes are baking, the lids are not used and are put aside until they cool.
Before filling, jars are put on a flat baking tray. This makes it possible to handle it safely and expose it to heat evenly while baking.
Putting Batter in Jars
Filling jars is a step that can be controlled. Slowly pour batter into each jar. The jars are filled to about half or a little more than half. This space lets the cake rise without touching the edge.
Uneven filling makes the baking uneven. The level of batter in each jar should be about the same. Wiping up spills on the edges of jars keeps them from sticking or burning.
Gently tapping the jars on the tray gets rid of air pockets. This helps the batter settle and makes fewer holes in the cake. Once you fill the jars, they are ready to be baked right away.
The process of baking and keeping the temperature right
The oven is set to a medium temperature that is good for baking cakes. The middle rack is where the jars go so that they get heat from all sides. It takes glass a while to heat up, so it’s important for the temperature to stay the same.
The size of the jar and the amount of batter will determine how long it takes to bake. Cakes are done when the top looks set and a little bit firm. If you put a thin testing stick in the middle, it should come out clean.
Jars don’t move around while they’re baking. A sudden change in temperature or movement could change the structure of glass or cake. Baking goes on until all the jars are done to the same level.
When baking is done right, you should see:
- Set surface with no wet spots
- Light color with no dark edges
- Clean the test stick from the middle
After baking, the jars are carefully taken out and put on a surface that can handle heat.
Letting the cakes cool and set
The jars cool down. You don’t touch the cakes until they are room temperature. As the cake cools, it pulls away from the sides of the jar a little, which helps it separate.
Avoid quick cooling. When jars are hot, they aren’t sealed because steam gets trapped inside and makes things wet. Cooling time helps keep the structure stable and the texture right.
The cake gets hard on the outside but soft on the inside when it cools all the way down. At this point, it’s time to finish up with the cakes.
Finishing and closing the jars
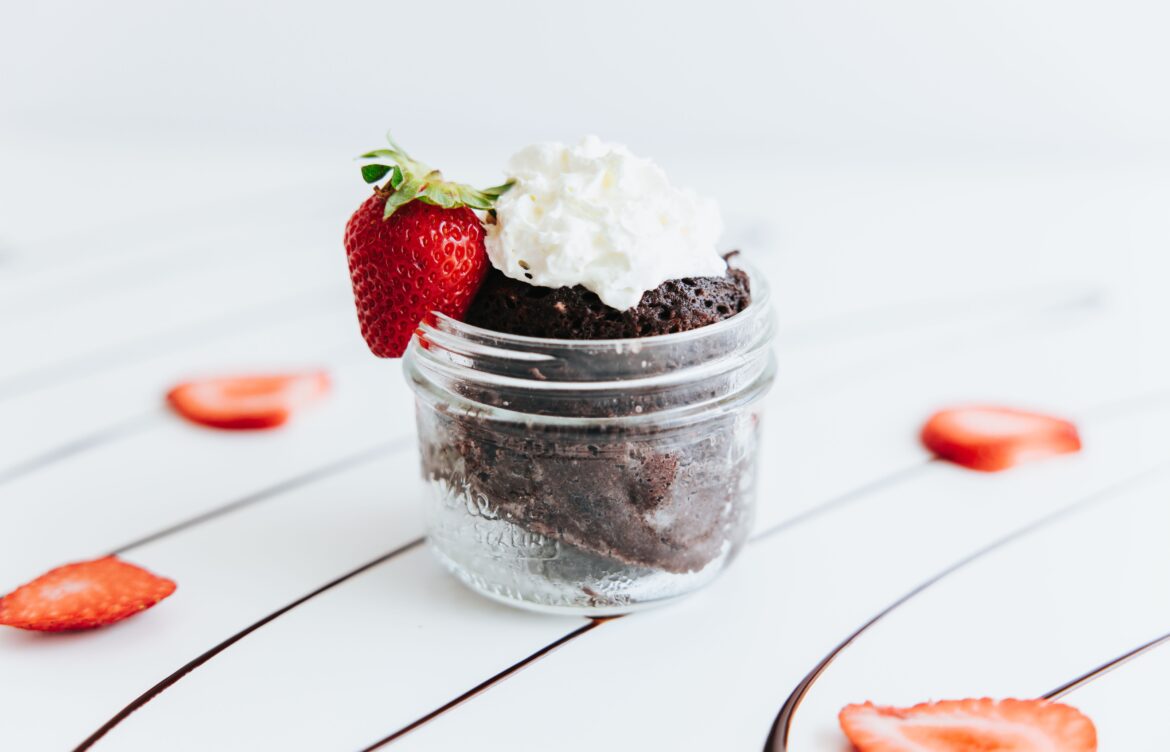
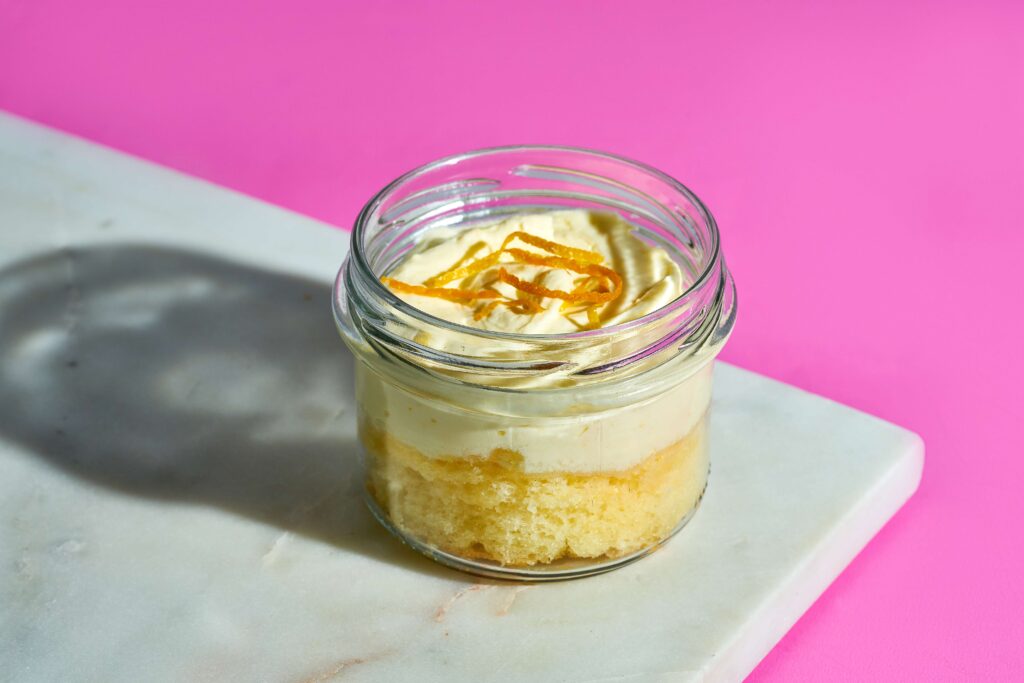
After they cool down, the edges of the jars are cleaned. At this point, you add any toppings or fillings that the recipe calls for. Some things you need to do are cut the cake inside the jar and add cream or filling between the layers. You don’t have to do this step; it depends on the recipe.
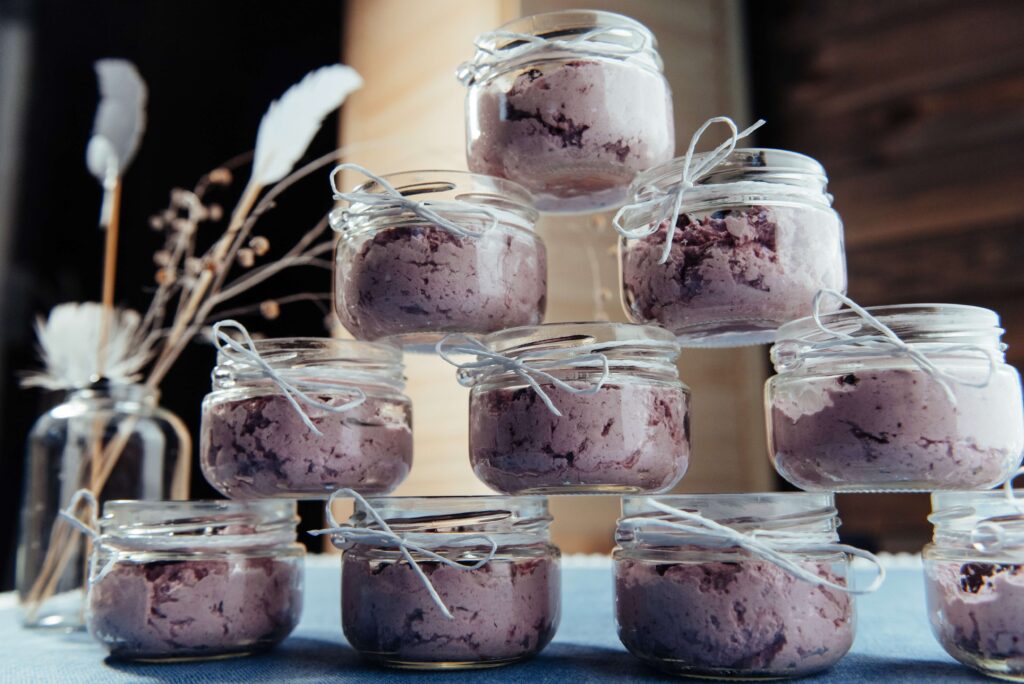
After cakes are done, lids are put on jars. They seal tight. Seal keeps cake safe and moist. Now mason jar cakes are ready to eat. Last step is sealing jars with fully baked cake inside. Cakes can now be stored or served.